Part 35 of the HikeLab Ultimate Ultralight Guide Series.
You don’t need to get deeply lost to realize how fast small navigation mistakes grow in the backcountry. One missed junction, one dead phone battery, or one lazy guess in fog can turn a strong hiking day into a stressful late finish. If you’re wondering how to navigate a long distance trail, you’re asking the right question before the stakes get high. Navigation feels easy when the tread is obvious and the weather is stable. The problem shows up when the trail fades, signs are poor, or fatigue starts making every option look plausible.
The good news is that how to navigate a long distance trail is not a mystery skill reserved for expert mountaineers. You can build it with a simple system: route study before the trip, frequent position checks during the day, and backups that still work when your phone doesn’t. This guide will show you how to combine old-school map skills, modern GPS tools, trail awareness, and better decisions so you can hike with more confidence. By the end, you’ll know what to carry, what to practice, how to avoid the most common mistakes, and what to do when the trail stops being obvious.
Key Takeaways
- Use layered navigation, not a single tool: paper map, compass, offline GPS, and terrain awareness should all back each other up.
- Most navigation mistakes start before the hike, so route study and waypoint planning matter as much as in-field skill.
- The best way to navigate a long distance trail is to confirm your location often instead of waiting until you’re confused.
- When things stop matching the map, slow down early, retrace if needed, and make conservative decisions before a small error becomes a rescue problem.
Why How to Navigate a Long Distance Trail Starts Before You Hike
The biggest navigation win happens at home, not at the trailhead. If you study the route before you leave, you reduce the number of decisions you need to make when you’re tired, cold, or distracted.
Start with the official trail source whenever possible. For example, the Pacific Crest Trail Association and the Appalachian Trail Conservancy both publish route information, closures, and planning guidance that matters more than a random app comment.
Look for the parts of the route that tend to cause trouble. Road walks, unsigned junctions, burn areas, snow-covered passes, open moorland, and water crossings are where people drift off line.
Break the trail into chunks you can hold in your head. Instead of thinking about a 20-mile day, think in segments: trailhead to creek crossing, creek crossing to ridge, ridge to camp.
This is also where you build your backup plan. Save offline maps, print or pack a paper map, note bail-out roads, and mark water sources, resupply points, camps, and obvious decision points.
Maya, a section hiker from Colorado, learned this the hard way on the Collegiate West route. She had a GPS track but never reviewed the alternate junctions ahead of time, followed the wrong tread in fading light, and added six unplanned miles before camping. On her next trip, she pre-marked every major split and finished her days faster with less stress.
If you want one habit that pays off immediately, do this: the night before every hike, spend 15 minutes tracing the next day’s route with your finger on the map. That simple routine makes how to navigate a long distance trail much easier once you’re moving, and it turns a vague route into a sequence of decisions you already expect.
How to Navigate a Long Distance Trail With Map and Compass Skills
Digital tools are excellent, but map and compass skills are still the foundation of wilderness navigation. Batteries die, screens break, and GPS tracks can be inaccurate or poorly labeled.
A paper map gives you context in a way a phone screen often doesn’t. You can see ridges, drainages, side trails, roads, and escape options all at once, which makes better decisions possible.
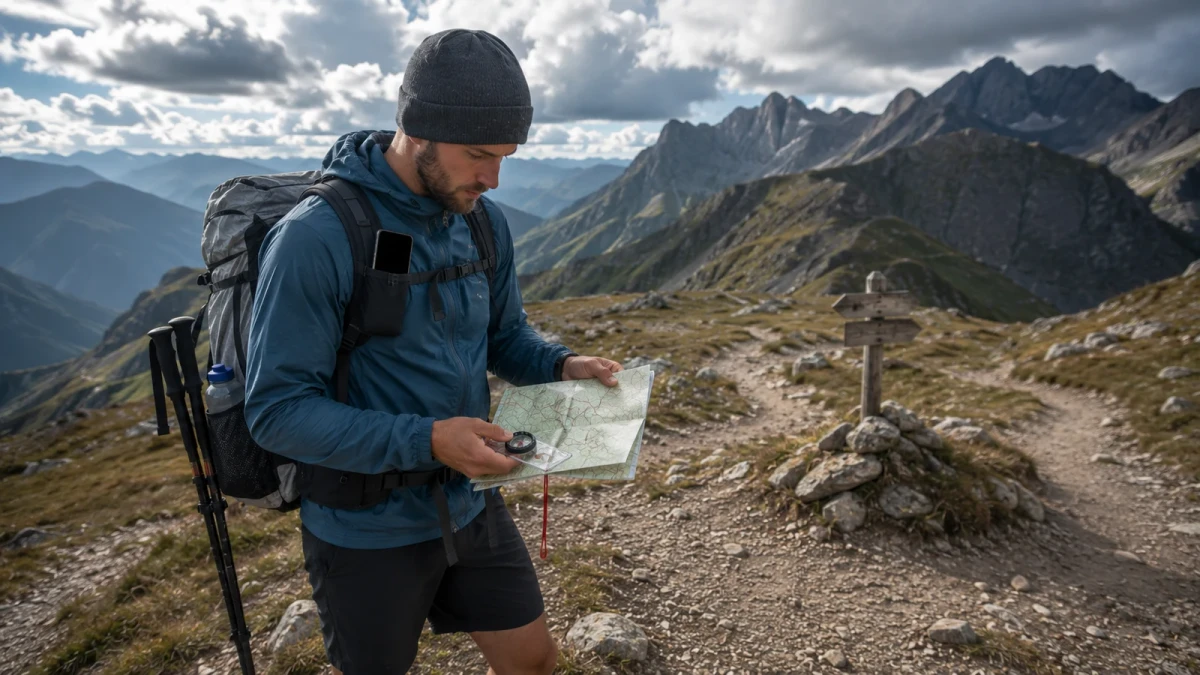
Your compass does not need to be fancy. A simple baseplate compass is enough if you know how to orient the map, identify major terrain features, and follow a bearing when the trail disappears.
The core skills are practical. Learn how to match the map to the terrain, identify handrails like rivers or ridges, notice catching features like roads or lakes, and estimate distance by time and terrain rather than hope.
If you’re rusty, the National Park Service Ten Essentials is still a useful reminder that navigation is basic safety equipment, not an optional extra. The same goes for Mountaineering Scotland’s navigation basics, which explains why map orientation and relocation matter so much in poor visibility.
One simple method works on almost every long trail:
- Orient your map before you start walking.
- Identify the next obvious checkpoint, not just the final destination.
- Confirm your position every time the terrain changes.
- Stop and re-check before major junctions, not after them.
Jonas, who thru-hiked Sweden’s Kungsleden and later moved into mountain guiding, told a beginner group he mentors that his best navigation days feel “boring.” That’s the point. If you’re constantly confirming small details, you rarely face big surprises, which is exactly how to navigate a long distance trail without drama.
If you only practice one field skill this month, make it orienting the map and naming three visible features around you. That’s the fastest bridge between theory and real-world trail navigation.
Use GPS Apps Without Letting Them Think for You
Phone-based mapping has changed hiking for the better. Apps like FarOut, Gaia GPS, and AllTrails can show your live location, store offline maps, and help you plan mileage, camps, and water.
But GPS should support judgment, not replace it. The worst pattern is blindly following a blue dot without noticing that the terrain, signs, or tread no longer match what the screen suggests.
Offline setup matters more than the app brand. Download maps before leaving town, check that your route layers are visible offline, lower screen brightness, carry a power bank, and keep your phone warm in cold weather.
Also be careful with crowd-sourced routes. User tracks can be outdated, rerouted, or flat-out wrong after storms, fires, trail work, or seasonal closures.
This is where layered thinking matters. Your phone tells you where you are, your map tells you what that means, and the terrain tells you whether both are believable.
Eli, a first-time thru-hiker on the Arizona Trail, almost missed a key water source because he trusted an old app note over current trail comments and his paper notes. He corrected course, but only after burning extra water on a hot climb. After that, he cross-checked every critical point with two sources and stopped making preventable navigation calls.
Before your next trip, build one offline map folder with your route, camps, bail-outs, and water notes. That small setup step is one of the easiest improvements you can make to your GPS hiking app workflow, and it is one of the most practical answers to how to navigate a long distance trail in 2026.
How to Navigate a Long Distance Trail When Markers Are Bad or Missing
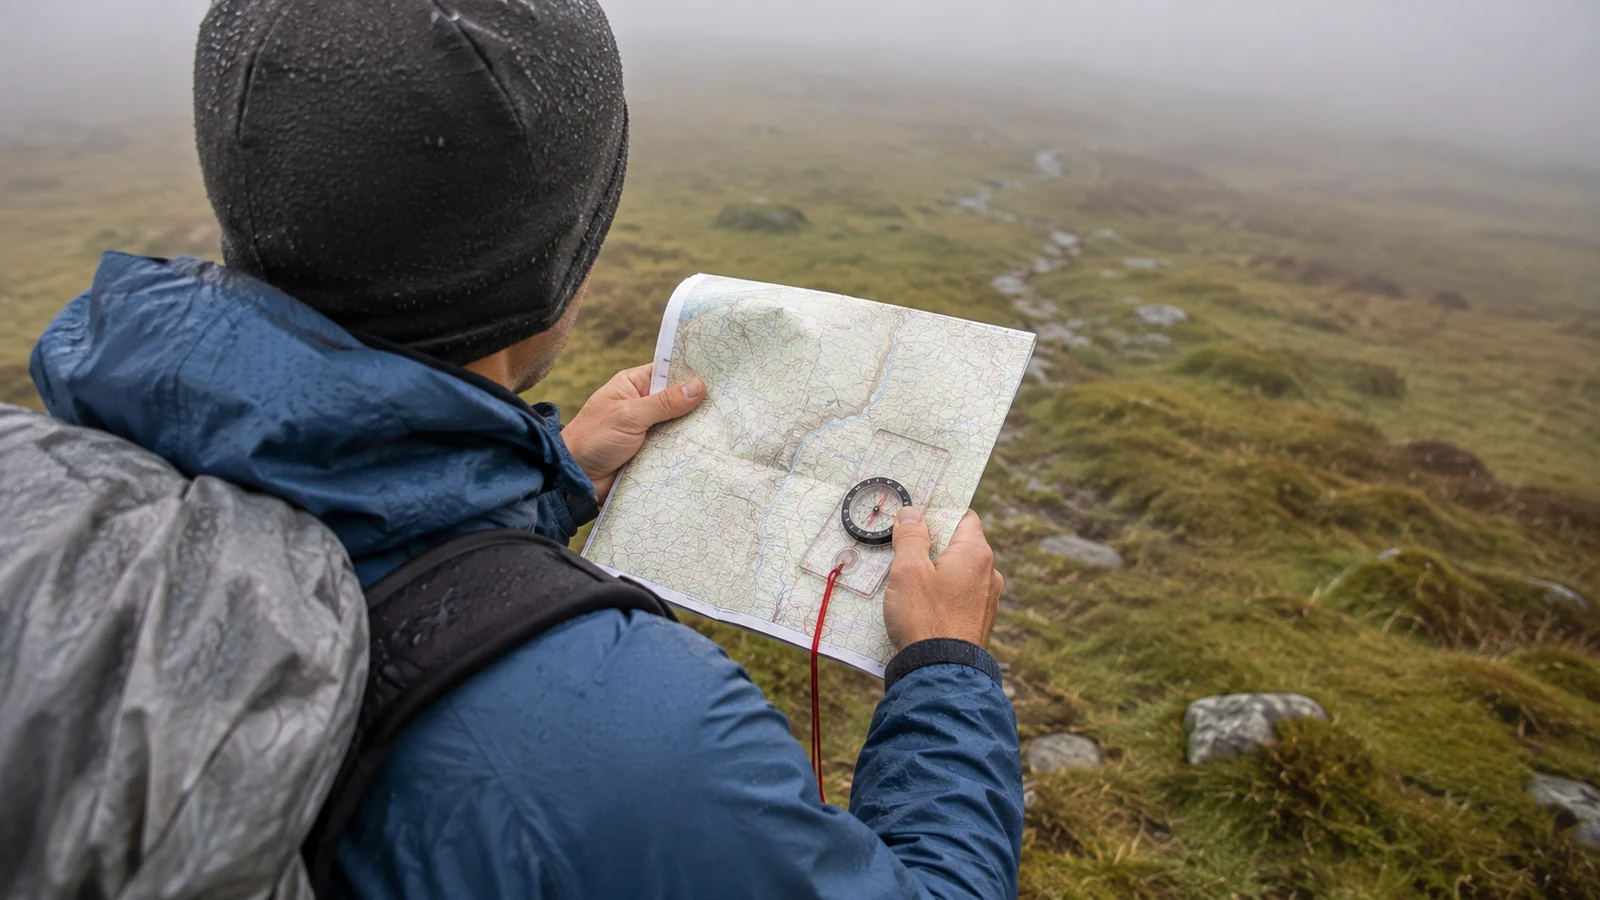
Blazes fade. Cairns get knocked over. Snow buries tread. Cows turn meadows into a mess of false paths. If you hike enough, you’ll hit a section where the trail does not look like a trail.
When that happens, resist the urge to keep drifting forward just because forward feels efficient. Distance only helps if it’s in the right direction.
Use a simple sequence. Stop, breathe, check your last known point, compare terrain to the map, and look behind you as well as ahead. Trails often make more sense in reverse because that’s the angle you actually approached from.
Then widen your attention. Are there cut logs, worn dirt, footprints, blazes on the backs of trees, or contour patterns that support one direction over another? In open country, align yourself with terrain features instead of hunting for a perfect tread line.
This is where “aiming off” can help. If you know the trail or water source lies somewhere along a road, stream, or ridgeline, intentionally approach from one side so you know which direction to turn when you hit it.
Do not be embarrassed to backtrack. Skilled hikers do it early because it is efficient, not because they failed.
On Scotland’s West Highland Way, Sara and Ben lost the line briefly in low cloud above a boggy section where multiple footpaths spread out. Instead of pressing on, they returned 200 meters to the last certain marker, reoriented with map and compass, and picked up the correct route within minutes. Their “lost time” was under 15 minutes because they acted early.
That is the real lesson in how to navigate a long distance trail: confident hikers are not people who never get confused. They are people who respond to confusion quickly and calmly.
Build a Daily Navigation Routine That Prevents Mistakes
Navigation gets easier when you turn it into a rhythm. You do not want to solve the whole route from scratch every time the trail bends.
A good routine starts before you leave camp. Check the day’s mileage, elevation, weather, key junctions, water points, and the one or two spots most likely to create trouble.
During the day, look up more often than you look down. Many hikers miss turns because they are watching their feet, listening to a podcast, or pushing pace late in the day.
Use time checks and terrain checks together. If the map says the saddle should come after 40 minutes of climbing and you’ve been climbing for 90 minutes with no saddle, something deserves another look.
It also helps to call out decisions out loud, especially in a group. Saying “next big turn is the signed junction after the bridge” sounds simple, but it keeps everyone aligned.
Here is a field-tested daily routine for wayfinding on a long trail:
- Review the route at breakfast.
- Confirm the first checkpoint before you start.
- Re-check at every junction, crossing, or major terrain shift.
- Verify location before lunch and before the final push to camp.
- Review tomorrow’s route as soon as you stop hiking.
This kind of system reduces decision fatigue. It also keeps minor mistakes from stacking up when you’re hungry, racing weather, or trying to finish a hard day.
If your navigation feels shaky, don’t wait for a big expedition to practice. Take this routine onto a local day hike first. That’s the lowest-risk way to make how to navigate a long distance trail feel normal instead of intimidating, and it builds habits you will actually use when conditions get messy.
Weather, Fatigue, and Ego: The Hidden Reasons Hikers Go Off Route
Most navigation errors are not pure map problems. They come from human factors.
Fatigue narrows attention. Bad weather makes people rush. Ego makes people keep moving after the first doubt because they don’t want to admit they may have missed something.
Fog, rain, snow, and darkness all compress your margin for error. A junction that would be obvious at noon can vanish at dusk when you’re wet and trying to make camp.
That means your navigation plan should include decision rules, not just tools. For example: if visibility drops below a certain distance, slow down and confirm every turn. If you’re behind schedule, shorten the day instead of forcing speed through complex terrain.
One of the best self-check questions is simple: “What evidence says I’m right?” If your only answer is “this seems like the trail,” that’s weak evidence.
The Leave No Trace Seven Principles also matter here because poor navigation often leads to social trails, damaged campsites, and bad shortcut decisions. Staying found is not just safer. It is lower impact.
If you’re hiking with a partner, assign shared responsibility. One person can lead, but both people should know the plan. Group navigation fails when only one hiker understands the route, and shared awareness is a big part of how to navigate a long distance trail safely.
Before your next overnight, agree on one turnaround rule, one low-visibility rule, and one battery backup rule. Those three decisions solve more problems than buying another gadget.
The Best Navigation Kit for a Long Trail
You do not need a heavy kit, but you do need a complete one. The goal is redundancy without clutter.
For most hikers, the best kit includes a paper map in a waterproof sleeve, a baseplate compass, a phone with offline maps, a charging cable, and a power bank sized for the trip. In more remote terrain, add a satellite communicator such as a Garmin inReach or similar device.
Pack your navigation tools where you can reach them fast. A map buried in your pack is less useful than a map in a shoulder pouch or top pocket.
Think about failure points in advance. What happens if your phone dies in rain, your map gets soaked, or you drop your compass at camp? The answer should never be “I hope that doesn’t happen.”
Here is a simple navigation kit checklist:
- Paper map with route notes
- Compass you know how to use
- Phone with downloaded offline maps
- Power bank and cable
- Protective bag or waterproof pouch
- Written emergency contacts and bail-out options
- Satellite messenger for remote or solo trips
Do not keep upgrading tools while avoiding practice. A cheap compass in trained hands beats an expensive app used carelessly.
If you want to improve thru-hike planning, build your navigation kit at least a week before departure and test every item on a short walk. That gives you time to fix dead batteries, bad downloads, or gear organization issues without trailhead panic, and it reinforces how to navigate a long distance trail with tools you already trust.
FAQ
How do you navigate a long distance trail if you lose the trail?
Stop as soon as you notice the mismatch. Go back to your last confirmed location, compare the terrain to your map, and only move forward again when the route makes sense from more than one clue.
What is the best app for navigating a long distance trail?
The best app is the one you prepare properly and can use offline under stress. FarOut is popular for established thru-hikes, while Gaia GPS is strong for custom mapping and broader backcountry route work.
Why should you carry a paper map if you have GPS?
A paper map gives you wider terrain context and does not depend on battery life, signal, or screen durability. It is your most reliable backup when electronics fail or become confusing.
Which compass do I need for long trail hiking?
A basic baseplate compass is enough for most long-distance hiking. What matters is that you know how to orient a map, follow a bearing, and relocate yourself when the trail becomes unclear.
When should you turn around or backtrack on a long trail?
Backtrack as soon as the trail, map, and terrain stop agreeing and you cannot explain why. Early correction is almost always faster and safer than pushing ahead while hoping the route fixes itself.
Next Steps
- Plan food and town stops with Food, Calories & Resupply Strategy for European Thru-Hikers.
- Read The Ultimate Base Weight Guide to understand how navigation gear adds to your carry.
- Check Ultralight Power Setup for electronic navigation support.
Sources
- NOLS — Navigation Skills — map, compass, and backcountry navigation
- CalTopo — Route Planning Tool — free backcountry mapping
- Gaia GPS — Trail Navigation — phone-based GPS navigation
- Adventure Corps — Long Trail Navigation — long-distance route finding
Einen Kommentar hinterlassen