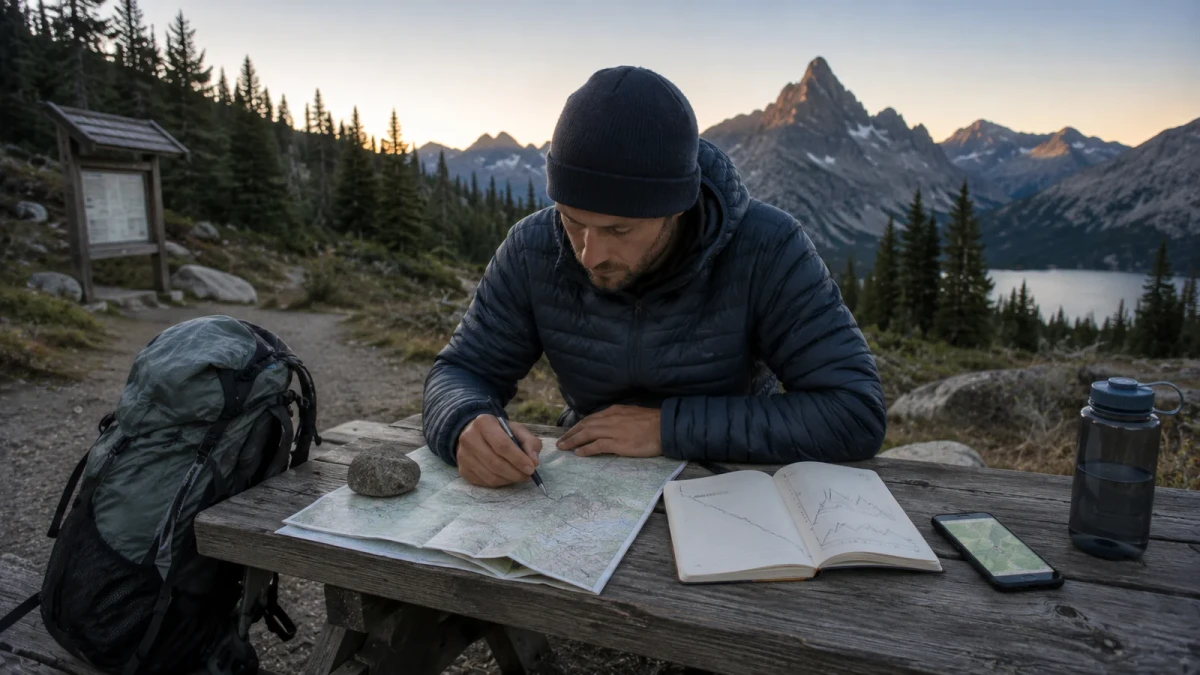
Part 40 of the HikeLab Ultimate Ultralight Guide Series.
Ever stared at a map, picked a trail that looked reasonable, and then realized you had no idea where you’d camp, where you’d get water, or whether the route was even legal? That moment is where many backpacking trips start going sideways. If you’re trying to learn how to plan a backpacking trip route, you don’t need more hype. You need a system that helps you choose the right trail, break it into doable days, and avoid the mistakes that turn a fun weekend into a slog.
The good news is that route planning gets much easier once you stop treating it like guesswork. You can build a solid route by matching the trail to your fitness, checking permits and regulations early, mapping camps and water, and creating one backup option before you leave home. In this guide, you’ll learn how to plan a backpacking trip route from the first idea to the final map check. You’ll also see where new hikers usually miscalculate mileage, terrain, and time, and how to avoid those traps.
Key Takeaways
- The best backpacking route is not the most ambitious one. It is the route that matches your fitness, season, and experience.
- Good route planning starts with permits, closures, water, and campsites, not just mileage.
- Break every route into decision points: trailheads, water sources, climbs, camps, and bail-out options.
- A simple backup plan for weather, fatigue, or trail changes can save the whole trip.
How to Plan a Backpacking Trip Route Around Your Real Limits
The first mistake most people make is choosing a route because the photos look great. The second mistake is assuming the miles on the map will feel the same as miles at home. They won’t.
If you want to know how to plan a backpacking trip route well, start with your actual hiking pace, pack weight, and elevation comfort. A flat 12-mile day on smooth trail is very different from 12 miles with 3,500 feet of climbing, creek crossings, and afternoon heat.
Be honest about your recent hiking, not your ideal version of yourself. If your longest loaded hike this month was 8 miles, a first-day push of 15 mountain miles is probably poor planning. Strong route choices feel slightly conservative before the trip and smart during the trip.
Start with four questions:
- How many days do you really have, including travel time?
- How many miles can you cover with a loaded pack in the terrain you’re visiting?
- How much elevation gain can you repeat on back-to-back days?
- Are you planning for comfort, challenge, or pure scenery?
Lena, a new backpacker from Oregon, learned this on a three-day loop in the Cascades. She planned 14-mile days based on her road-running fitness, then hit long climbs with a 28-pound pack and barely reached camp before dark on day one. On her next trip, she cut the target to 9 to 11 miles per day, planned a midday water stop, and finished feeling strong instead of wrecked.
That is the real starting point for backpacking route planning. Not the map. Not the gear list. Not the dream itinerary. Your route has to fit your body and the conditions first.
If you’re between two options, choose the shorter route and add a side trip only if things are going well. That’s a much better decision than forcing big miles because the spreadsheet said it looked efficient.
Use Maps, Guide Sources, and Official Rules Before You Lock In a Route
Once you know your limits, move to route research. This is where many hikers bounce between random blog posts, screenshots, and app comments without checking the one thing that matters most: the official land manager rules.
For national parks and many protected areas, official park pages should be your first stop. Start with pages like the National Park Service’s general Plan a Backpacking Trip, then check the specific park you want to visit. Yosemite’s backpacking page and Glacier’s wilderness trip planning page are good examples of the details you need: permit rules, trailhead quotas, campsite restrictions, bear storage rules, and current trail issues.
After that, use mapping tools to shape the route itself. Gaia GPS route creation is useful for measuring distance and elevation, while CalTopo’s measure tools help you study terrain, profiles, and alternates.
This part matters because a route is never just a line. It is a legal, seasonal, and logistical plan. A stunning camp on social media may be closed to camping, quota-limited, or too exposed for the weather window you have.
Use this quick research stack:
- Official park, forest, or land manager page
- Recent permit and closure information
- Topographic map and elevation profile
- Water source notes from reputable route guides or current trail reports
- Parking, shuttle, and trailhead access details
Marco planned a shoulder-season trip in Montana using only a GPX file a friend sent him. Two days before departure, he finally checked the park page and found a key bridge closure that changed the whole loop. Because he caught it early, he rebuilt the route around an open valley trail and still salvaged the trip. If he had waited until the trailhead, he would have lost the weekend.
Before you commit, open the official page and answer one blunt question: “Am I actually allowed and prepared to do this exact route?” If the answer is fuzzy, keep researching.
How to Plan a Backpacking Trip Route Day by Day
This is where the route becomes usable. Instead of seeing one big loop or point-to-point trail, break it into daily chunks built around camps, water, and major climbs.
The best way to plan daily mileage is to combine distance with terrain. A route with long climbs, rough tread, or tricky navigation deserves shorter days. A smoother trail with easy resupply access might support longer days.
When you build each day, anchor it around these points:
- Start point
- Major climb or crux section
- Reliable water
- Lunch or recovery stop
- Planned camp
- Bail-out option if the day falls apart
Avoid the rookie move of placing camp only by mileage. Camp placement should depend on daylight, water, regulations, and where the hard terrain sits. A 10-mile day that ends at a dry ridge can be worse than a 12-mile day that ends at a sheltered site with water.
Here is a simple planning method:
- Mark the trailhead and end point.
- Mark all likely campsites or legal camping zones.
- Mark reliable water sources and note dry stretches.
- Highlight steep climbs, exposed ridges, river crossings, and slow terrain.
- Build each day backward from water and camp, not forward from mileage alone.
Nina and Josh used this method on a four-day route in Utah. Their first draft had a clean 11-mile average, but the second day crossed a dry stretch and ended on an exposed bench with no reliable water. They moved camp 2.5 miles farther to a sheltered spring, then shortened the third day to balance recovery. The new route looked less symmetrical on paper but worked far better on trail.
If you want one practical upgrade, write a one-line summary for each day. Example: “Day 2: 8.7 miles, 2,400 feet up, water at mile 3 and 6, steep climb after lunch, camp at lake.” That tiny summary makes how to plan a backpacking trip route much easier to execute when you’re tired.
Plan Water, Campsites, and Food Like They Control the Route
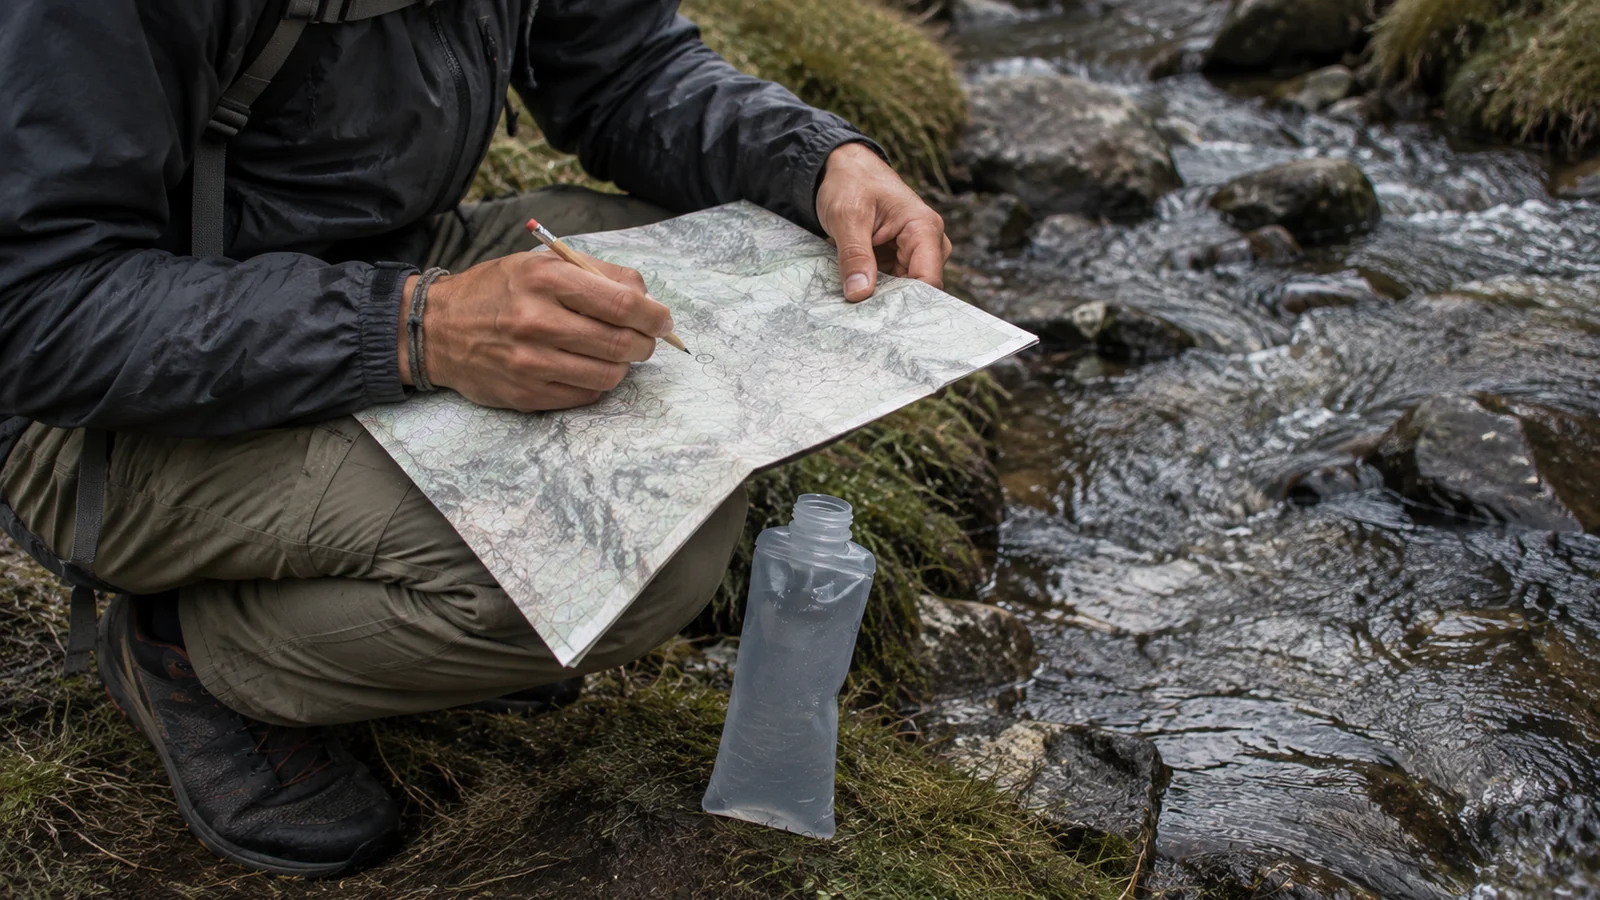
They do. Water and camps usually decide whether a route is realistic. Food decides how heavy the route feels.
Too many hikers plot mileage first and assume the details will work themselves out later. That is backwards. On many routes, especially in dry or alpine terrain, the route only works because of specific water sources and legal camping zones.
Check whether camps are designated, first-come first-served, permit-assigned, or fully dispersed. Also check for bear canister rules, fire restrictions, and food storage requirements. The National Park Service 10 Essentials page is a useful reminder that planning, navigation, and emergency prep are part of the route itself, not separate tasks.
For water, treat old comments with caution. Snowpack, heat, storms, and seasonal drought can change a source fast. If the route depends on one long carry, note the exact stretch in your plan and decide how much capacity you need before you leave home.
Food planning matters here too. Heavy food loads slow you down, especially on day one. If you overpack, your “comfortable” route may stop feeling comfortable the minute the trail tilts upward.
Use a route card or phone note with:
- Expected water points
- Maximum dry stretch
- Planned camp options
- Food load by day
- Hard turnaround times
If you haven’t built a one-page route card for your trips yet, do it before your next overnight. It takes 10 minutes and keeps critical details in one place when your brain is busy.
How to Plan a Backpacking Trip Route for Weather, Permits, and Season
Every route is seasonal, even if the map never changes. Snow, heat, bugs, storms, stream crossings, and daylight all reshape what a route feels like.
A moderate route in late summer can become a high-risk route in spring runoff or fall storm cycles. That is why how to plan a backpacking trip route always includes seasonal research, not just distance math.
Start with permit timing. Some trips are decided months in advance by quotas. Others need walk-up flexibility. If your route depends on a hard-to-get permit, build a plan B route in the same region so the trip survives if the first choice fails.
Then check conditions that change the trail:
- Snowline and remaining snowfields
- Stream crossing volume
- Daytime heat and shade exposure
- Thunderstorm timing
- Fire closures or smoke
- Daylight length
Use official pages first, then layer in current reports and forecast tools. If you’re traveling in protected areas, park planning pages often summarize route-specific hazards well. For outdoor ethics, Leave No Trace’s seven principles are also worth revisiting because weather pressure often leads hikers to make poor campsite or shortcut decisions.
One of the most useful habits is asking, “What changes if the weather gets 20 percent worse?” If your route falls apart immediately, it may be too fragile for the trip window.
Before your trip, write down one weather pivot, one early-exit trailhead, and one lower-mileage camp option. That small backup plan removes a lot of stress when the forecast turns.
Build a Route That Is Easy to Follow in the Field
A good route on your laptop can still fail on the ground if it is too vague. Your field version should be simple enough to use when you are hungry, cold, wet, or rushing daylight.
That means reducing your route into clear decision points. Think junctions, creek crossings, passes, camps, and bailout trails. If you need to zoom and scroll through six app layers to understand the next move, your route notes are too messy.
Carry at least two navigation formats. For many hikers, that means offline phone maps plus a paper map. If your trip is more remote, add a compass and know how to use it. Gaia GPS and CalTopo are great tools, but they work best when you already understand the route’s shape.
Your field notes can be short:
- Junction at 2.1 miles, stay left
- Last reliable water before camp at mile 6.4
- Exposed traverse after pass, avoid in storms
- Bail-out trail drops west at mile 8.7
Write those notes in the order you will meet them, not in the order you planned them. A list that runs from the trailhead outward can be read at a glance; a list organized by topic forces you to search it while standing at the junction you were supposed to be prepared for.
Think of it this way: the planning phase should remove as many trail decisions as possible before you step out of the car. That is one of the clearest answers to how to plan a backpacking trip route without feeling scattered in the backcountry.
Common Backpacking Route Planning Mistakes to Avoid
Most route problems are predictable. That is good news, because predictable problems are fixable.
The biggest mistake is overestimating speed. The second is underestimating how much terrain, weather, and pack weight slow you down. After that, the common errors are simple: not checking permit rules, trusting outdated water reports, and skipping a backup exit.
Watch for these traps:
- Planning miles from a map without checking elevation gain
- Assuming every blue line on the map is reliable water
- Treating campsites as guaranteed without checking legality or quotas
- Building a route with no easy shortening option
- Relying on one phone app and no backup
- Ignoring trailhead parking, shuttle, or permit pickup timing
Devon, a fit trail runner from California, put together a weekend route that looked easy on paper: 18 miles, one lake, one pass, one night out. What he missed was a late permit pickup cutoff and a brutal final climb into camp. He made the permit window with minutes to spare, hiked into darkness, and slept poorly at an exposed site. On his next trip, he planned a shorter first day, checked office hours first, and built a camp option below the pass. Same region, much better outcome.
Good planning is not about removing adventure. It is about removing preventable friction. The route should challenge you in the right ways, not surprise you with details you could have solved at home.
FAQ
How do I choose the best backpacking route for beginners?
Pick a route with modest daily mileage, reliable water, easy navigation, and legal camps that are simple to identify. Look for a trip with a clear exit option in case weather, gear, or fitness becomes an issue.
What is the best app for backpacking route planning?
There is no single best app for everyone, but Gaia GPS and CalTopo are strong choices because they help with distance, elevation, offline maps, and route editing. The important part is learning one tool well and backing it up with a paper map or saved route notes.
Why is planning water so important on a backpacking route?
Water often determines where you can rest, cook, and camp safely. A route that looks short on the map can become risky if a planned source is dry or much farther apart than expected.
Which is better for a backpacking trip route: loop or out-and-back?
Loops usually feel more interesting because you see new terrain each day, but out-and-backs can be simpler to plan and easier to shorten if conditions change. The better option is the one that gives you cleaner logistics and safer backup choices.
When should I change my planned backpacking route?
Change it when permits, closures, weather, water, or your group’s pace no longer support the original plan. Adjust early rather than forcing the route to work after the facts have changed.
Next Steps
- Read The Ultimate Base Weight Guide to understand how trip planning affects gear weight.
- Check How to Navigate a Long-Distance Trail for navigation on complex routes.
- Review Bear Safety & Food Storage for permit-area food planning.
Sources
- National Park Service — Plan a Backpacking Trip — permits, quotas, and land-manager rules
- CalTopo — Measure Tools Training — distance, elevation profiles, and alternates
- Gaia GPS — Create and Measure Routes — route building and offline maps
- National Park Service — Ten Essentials — navigation and emergency planning as part of the route
Leave a Comment