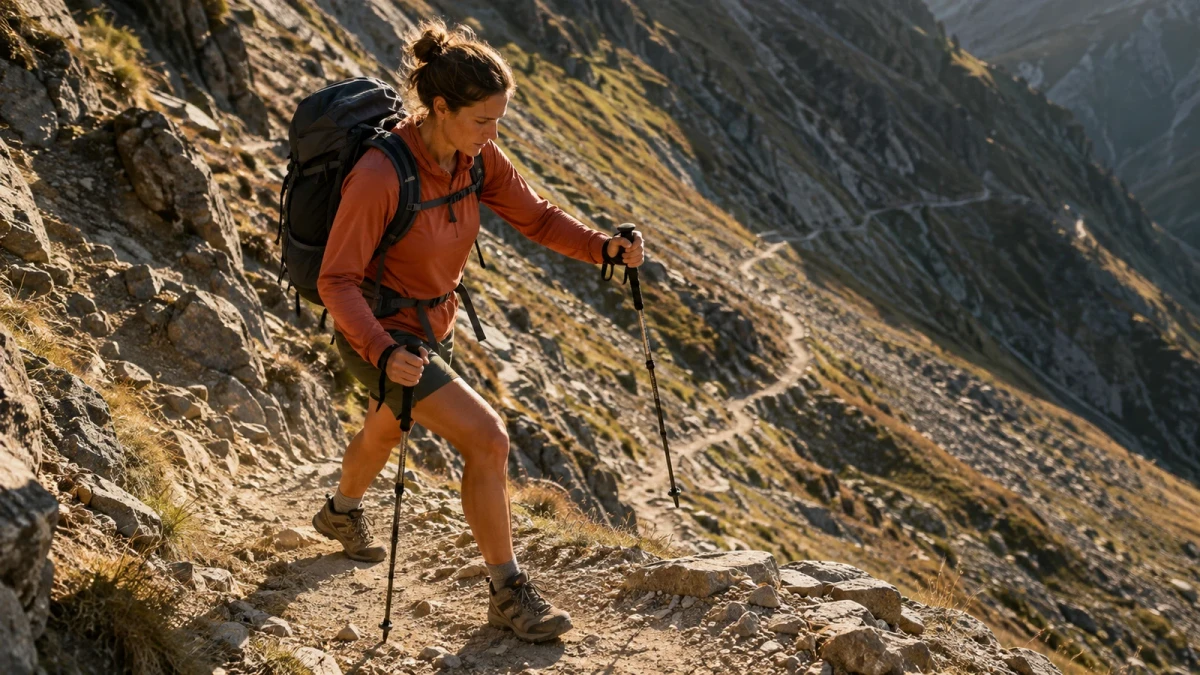
Part 47 of the HikeLab Ultimate Ultralight Guide Series.
Have you ever finished a hike with fresh lungs but trashed knees? That usually isn’t a fitness problem. It’s a technique problem. Most hikers go looking for proper hiking pole technique only after a steep climb burns their arms out or a descent makes them feel one bad step away from a fall.
Used well, trekking poles do three things at once: they spread effort into your upper body, improve balance on uneven ground, and help you stay more controlled when the trail gets steep. Used badly, they become noisy extra gear that catches rocks, throws off rhythm, and makes your hands work too hard.
This guide shows you how to size poles, use straps correctly, climb with less wasted effort, descend without jamming your shoulders, and adapt to traverses, stairs, mud, and switchbacks. By the end, you’ll know exactly what to do with your poles instead of just carrying them.
Key Takeaways
- Set pole length for the terrain, not one fixed height for the whole hike.
- Uphill technique works best when poles stay close to your body and support forward movement, not when you reach far ahead.
- Downhill technique works best when poles land slightly ahead of you and help you control speed, not brake every step.
- Wrist straps should carry part of the load so you don’t death-grip the handles.
- Two short practice sessions on local hills can improve pole use more than months of guessing on trail.
Pole Setup: Length, Straps, and Tips
Good technique starts before the first step. On level ground, most brands and guides recommend setting your poles so your elbows sit near a 90-degree bend. That gives you a neutral starting point for leverage, comfort, and quick terrain changes, and the Washington Trails Association pole primer starts from the same baseline.
From there, adjust by terrain. Shorten poles a bit for long climbs and lengthen them a bit for long descents. Many hikers overdo this. You usually need a small adjustment, not a dramatic one.
Straps matter almost as much as length. Slide your hand up through the bottom of the strap, then rest your palm on it before closing your grip. That lets the strap support pressure under your hand, so your fingers guide the pole instead of squeezing it all day.
The tip matters too. Use carbide tips on dirt, mud, ice, or loose trail. Use rubber tip covers on pavement or exposed rock when you want less noise and less skidding. Baskets help in snow, mud, and soft ground, but they can feel clumsy on dry summer trails.
Before your next hike, spend two minutes adjusting straps and pole length at the trailhead. That one habit fixes a surprising number of “I hate trekking poles” complaints.
If you’re still choosing gear, start with Trekking Poles for Backpacking.
Uphill Technique: Shorter Poles and Close Plants
Climbing with poles should feel like support, not like doing push-ups on a mountain. The basic rhythm is opposite arm, opposite leg. When your left foot steps, your right pole plants. When your right foot steps, your left pole plants.
Keep the poles close to your body. If you plant too far ahead, you lose leverage and end up pulling yourself uphill instead of driving forward. A short, controlled plant near your front foot usually works best.
Your body position matters more than people think. Lean slightly from the ankles, keep your chest open, and let the poles help you maintain rhythm. Don’t hunch over them. The goal is to share work with your upper body, not fold yourself in half.
On steeper grades, shorten the poles a little more and plant them more vertically. That gives you better power transfer and keeps your shoulders from shrugging up around your ears.
On a training hike above Boulder, Chris kept stabbing both poles far uphill in front of him. Ten minutes in, his shoulders were burning and he felt slower with poles than without them. After he shortened the poles slightly and started planting each pole beside his stepping foot, his cadence smoothed out. He finished the same climb less winded and stopped blaming the gear.
Double-poling can help on very steep steps, high rock ledges, or short bursts where you want extra stability. Plant both poles, step up, then move them again. It’s useful in short sections, but not efficient for every uphill mile.
Research reviews suggest trekking poles can reduce lower-extremity loading and increase upper-body involvement, especially when hiking with a load. That’s one reason they feel so valuable late in a long climb.
If your pack feels sloppy uphill, fix that too — How to Pack a Backpack covers load placement and torso fit.
Downhill Technique: Longer Poles and Controlled Placement
Downhill is where poles usually prove their worth. It’s also where bad habits show up fastest. The biggest goal on descents is control, not speed.
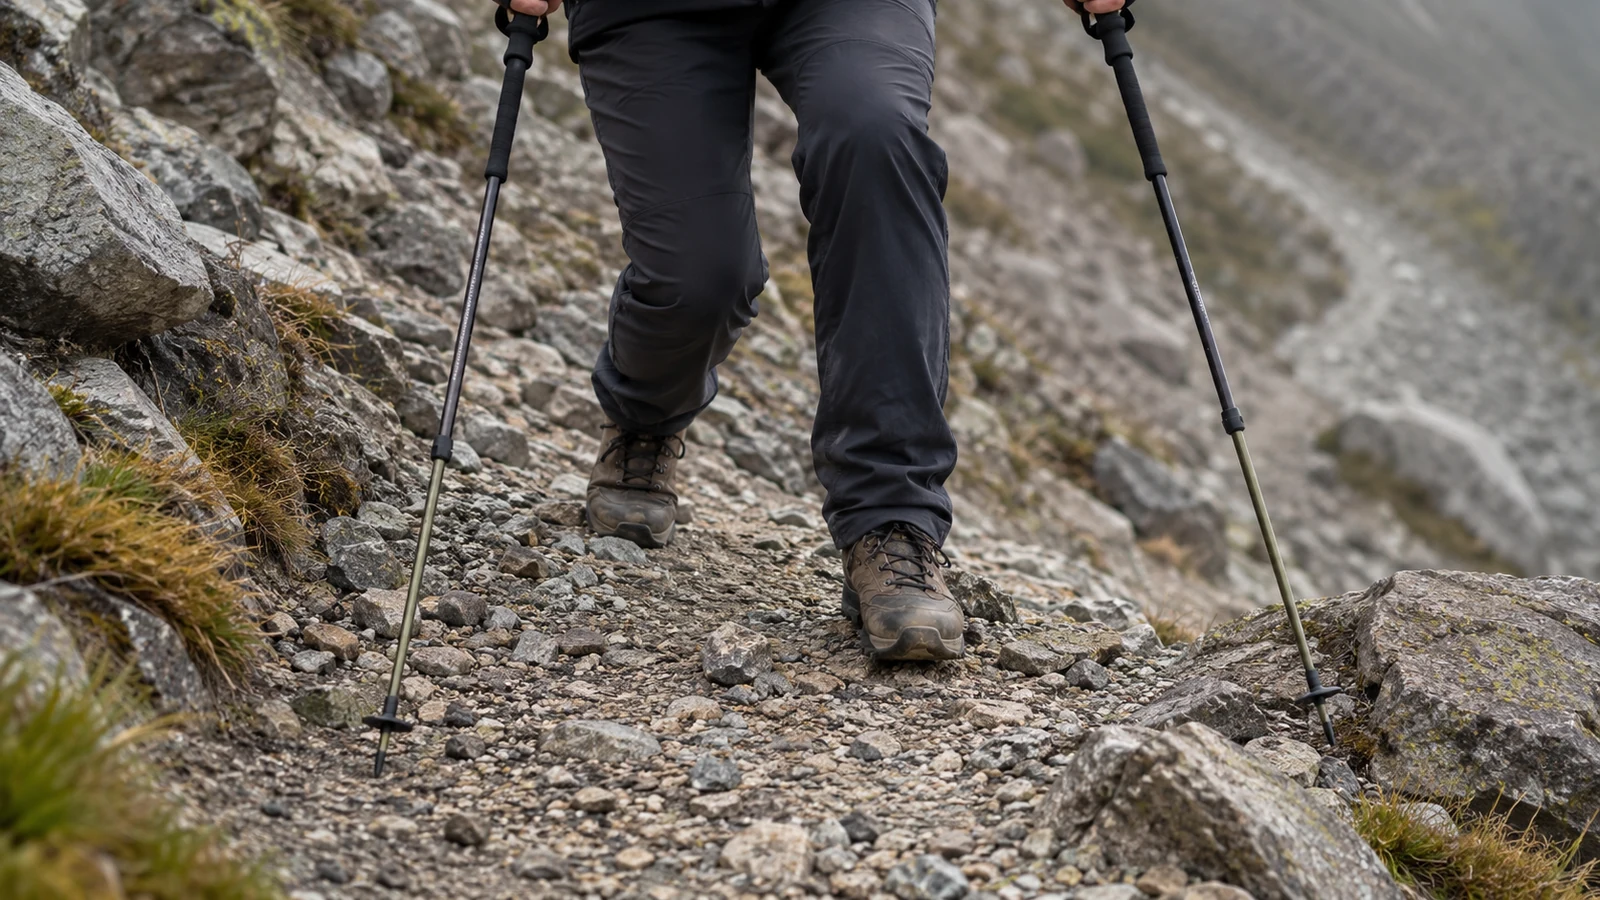
Lengthen your poles slightly, keep your knees soft, and place the poles a little ahead of your body. “A little” matters. If the poles land too far in front, you’ll overreach, jam your shoulders, and break rhythm. If they land too close, they won’t help much.
Think of the poles as extra contact points that calm the descent. They shouldn’t slam into the ground with every step. Plant, load lightly, step, and reset. On loose or rocky ground, shorter steps usually work better than long bounding ones.
Your hands may shift a bit on steep descents. Some hikers rest more pressure through the top of the grip or use a firmer palm position, but the key is still the same: let the strap and palm share the load so you don’t crush the handle. If terrain is very technical, take your hands out of the straps so you can react faster if a pole gets wedged.
Leah used to dread the last mile of a local mountain trail because the descent hammered her knees. She carried poles, but only touched them down after each step, almost like decorations. Once she started planting them slightly ahead before stepping down, she felt more stable and less rushed. The trail didn’t get easier. Her timing got better.
A review in Wilderness & Environmental Medicine found that trekking poles may reduce lower-extremity joint loading during downhill and level walking. That lines up with what many hikers feel on long descents: less pounding, more balance, and fewer “save yourself” lunges late in the day.
If descents usually beat up your knees, don’t wait for a big trip to practice. Find a local hill, lengthen your poles slightly, and do three controlled downhill repeats this week.
For hikers managing sore knees, Thru-Hike Training and Fitness is a useful companion read.
Traverses, Switchbacks, Stairs, and Uneven Ground
Real trails aren’t one long clean climb or descent. They tilt, twist, and force constant small decisions. That’s where better technique separates helpful poles from annoying ones.
On a sidehill traverse, shorten the uphill pole or grip lower on it, and lengthen the downhill pole or grip higher if needed. The goal is simple: keep your hands closer to even, even when the ground isn’t. On very steep traverses, one pole can be enough, especially the uphill pole.
On stairs, keep the pattern simple. Going up, plant near your feet and push up with the step. Going down, place the poles on the lower step before you commit your body weight.
On tight switchbacks, don’t get trapped in a rigid rhythm. Sometimes one pole plants, sometimes both, and sometimes you carry them for a few steps while turning sharply. Smooth hiking beats perfect symmetry.
Marco learned this on a wet Appalachian descent full of stone steps and sharp turns. He kept trying to maintain a perfect left-right pole rhythm through every switchback, and the poles kept tangling with his feet. Once he treated each corner as its own move instead of forcing cadence, he stopped fighting the trail and moved faster with less stress.
Uneven terrain also changes how much trust you should place in a plant. Test questionable placements on slick rock, loose gravel, or soft mud before loading them. A pole is only support if the tip actually holds.
Common Mistakes That Make Poles Feel Useless
The first mistake is planting too far ahead. That wastes energy uphill and yanks your posture backward downhill. Keep the poles closer than you think.
The second mistake is overgripping. If your hands ache after an hour, your straps probably aren’t doing enough work. Poles should feel guided, not strangled.
The third mistake is never adjusting length. Some hikers leave poles at one setting all day because changing them feels annoying. That’s fine on rolling terrain, but on long climbs and descents it costs comfort and control.
The fourth mistake is using poles to catch every slip at the last second. Better technique is proactive. Plant earlier, use smaller steps, and stay balanced before things go bad.
The fifth mistake is using poles where your hands should be free. On scrambles, exposed rock moves, and sections where you need handholds, stow the poles. They’re a tool, not a rule.
This is where many competitor articles stop short. They explain how poles work, but not when they become a liability. That choice matters just as much as pole length.
One Pole, Two Poles, or No Poles?
Two poles are best for long climbs, sustained descents, loaded hikes, muddy trails, creek crossings, and days when balance is a priority. They create a more stable pattern and spread work more evenly through the body.
One pole can work well on moderate terrain, sidehills, or hikes where you want one hand free. It’s also a good transition if you’re learning and feel clumsy with two. Just switch hands now and then on longer outings so you don’t overload one side.
No poles can be the right call on easy flats, short scrambles, or technical sections where poles slow you down. Many experienced hikers alternate between all three modes in a single day.
The smart question isn’t “Should I always use poles?” It’s “What does this section of trail ask from me right now?” Answer that honestly and your technique gets sharper fast.
If your hikes mix day trails and alpine terrain, Ultralight Hiking Gear can help you decide what else earns its place.
A Simple Practice Plan Before Your Next Hike
You don’t need a wilderness trip to learn proper pole use. You need one curb, one staircase, and one short hill.
Start on flat ground. Practice opposite arm and opposite leg until it feels automatic. Then move to stairs and rehearse placing the poles before stepping up or down.
Next, find a hill and do three short climbs with slightly shorter poles. Focus on close plants and steady rhythm. Then do three descents with slightly longer poles, soft knees, and controlled pole placement just ahead of you.
Add one final drill for traverses. Walk across a sloped patch or uneven side path and experiment with changing your grip height instead of fully readjusting pole length every minute. That small skill saves time on real trails.
Before your next mountain day, take your poles out for a 20-minute practice session. If you do that once or twice, you’ll stop guessing and start hiking with purpose.
FAQ
How short should hiking poles be for uphill sections?
Shorten them just enough to keep your elbows comfortable and your shoulders relaxed. For many hikers, that means roughly 5 to 10 centimeters shorter than their flat-ground setting. The steeper the climb, the more useful a small adjustment becomes, but avoid extreme changes.
What’s the best way to use trekking poles downhill?
Lengthen the poles slightly and plant them a little ahead of your body before each step or every few steps, depending on terrain. Use them to steady and control the descent, not to slam on the brakes. Shorter steps and soft knees help more than aggressive planting.
Why do my wrists or hands hurt when I use hiking poles?
The usual cause is overgripping or poor strap setup. Your hand should come up through the strap from below so the strap supports pressure under your palm. If you squeeze constantly, your hands and forearms do extra work the poles were supposed to reduce.
Which is better for steep hiking: one pole or two?
Two poles are usually better for steep climbs and descents because they improve balance and spread effort more evenly. One pole can still help on moderate grades or traverses, especially if you want one hand free. Choose based on terrain, pack weight, and how technical the trail feels.
When should you take your hands out of the wrist straps?
Take your hands out on very rocky terrain, scrambles, boulder fields, and any section where a stuck pole could throw you off balance. Straps are great for efficiency on normal trail, but quick release matters more when the terrain gets technical or unpredictable.
Turn Pole Technique Into a Habit Before the Next Climb
The difference between hikers who love poles and hikers who hate them usually comes down to technique, not gear. When you size them correctly, use the straps the right way, shorten them for climbs, and lengthen them for descents, poles stop feeling awkward and start feeling useful. They help you climb with rhythm, descend with control, and stay steadier when the trail gets messy.
That’s the real value of good pole technique. It isn’t about looking more experienced. It’s about hiking farther with less wasted effort and less stress on your body.
Take one action before your next hike: practice for 20 minutes on a hill or staircase. Dial in your strap position, test one small length change uphill and downhill, and pay attention to pole timing. That short session can make your next big trail feel smoother, safer, and much more efficient.
Next Steps
- Read Trekking Poles for Backpacking to pick the pair your technique deserves.
- Check Trail Runners vs Hiking Boots for the footwear half of descent control.
- Review Thru-Hike Training and Fitness to build the legs that poles support.
Sources
- Washington Trails Association — How to Use Trekking Poles — strap technique and hill adjustments
- Wilderness & Environmental Medicine — Are Trekking Poles Helping or Hindering Your Hiking Experience? — joint-loading review
- National Park Service — Ten Essentials — where poles sit against the safety basics
- Leave No Trace — Seven Principles — tip choice and trail impact
Leave a Comment