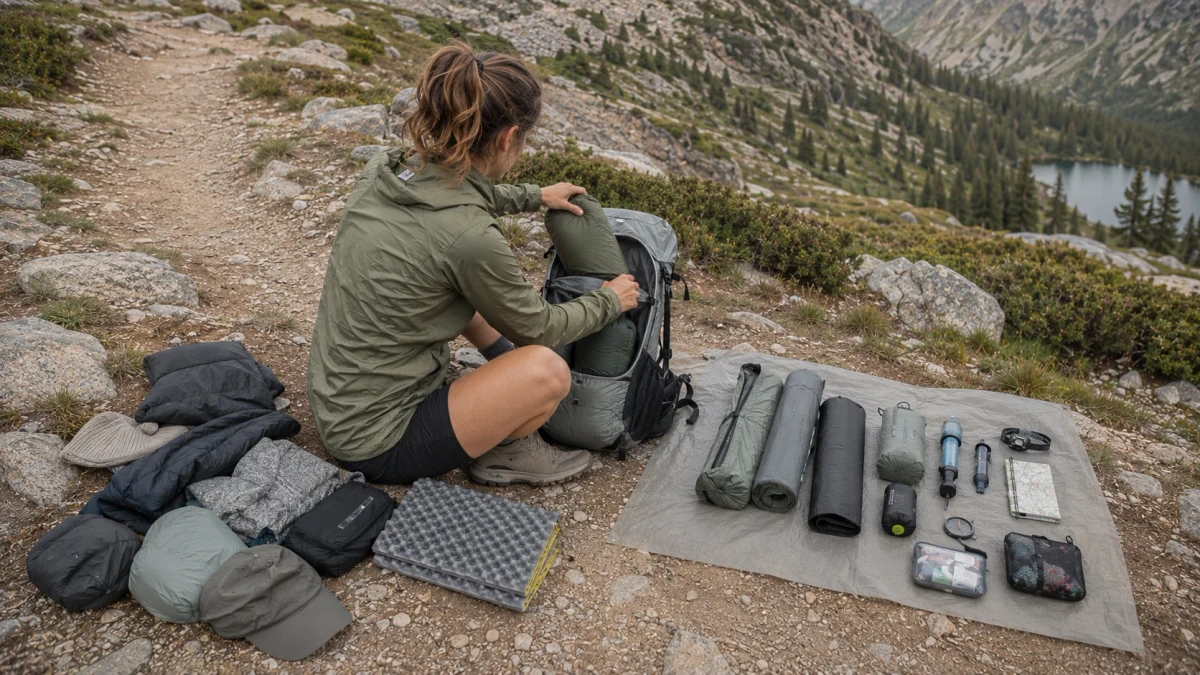
Part 03 of the HikeLab Ultimate Ultralight Guide Series.
If your backpack feels like it gains five pounds every mile, you’re not imagining it. A heavy load drains energy, slows your pace, and makes even short climbs feel harder than they should. That’s why so many hikers start searching for ultralight backpacking for beginners after one rough weekend on the trail.
Maybe you’ve already felt that turning point. The uphill gets steeper, your lower back starts talking, and the fun leaks out of the day long before camp. That frustration is real, and it’s also fixable.
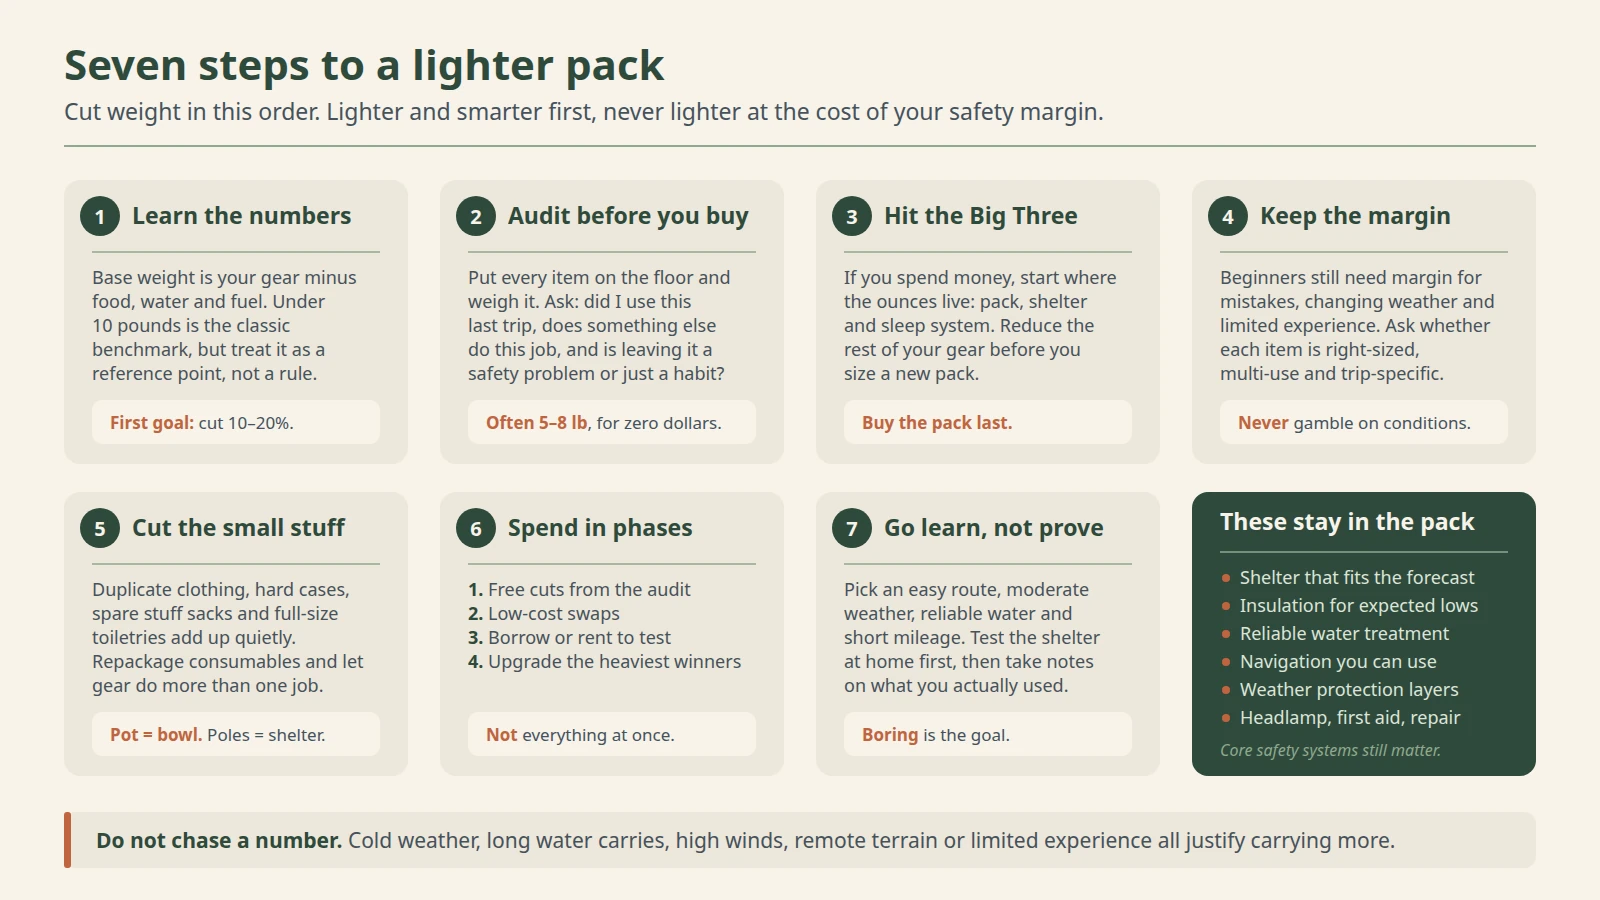
The good news is you don’t need a luxury gear closet or a sub-10-pound base weight to get real results. You need a smarter process. In this guide, you’ll learn how to cut pack weight in the right order, avoid the beginner mistakes that make ultralight feel risky, and build a lighter system that still keeps you warm, dry, and safe. We’ll walk through seven practical steps, from your first gear audit to your first beginner-friendly ultralight trip.
If you want to build the full system, pair this guide with The Ultimate Base Weight Guide, Budget Ultralight Gear Upgrades, and The First 1 kg to Cut.
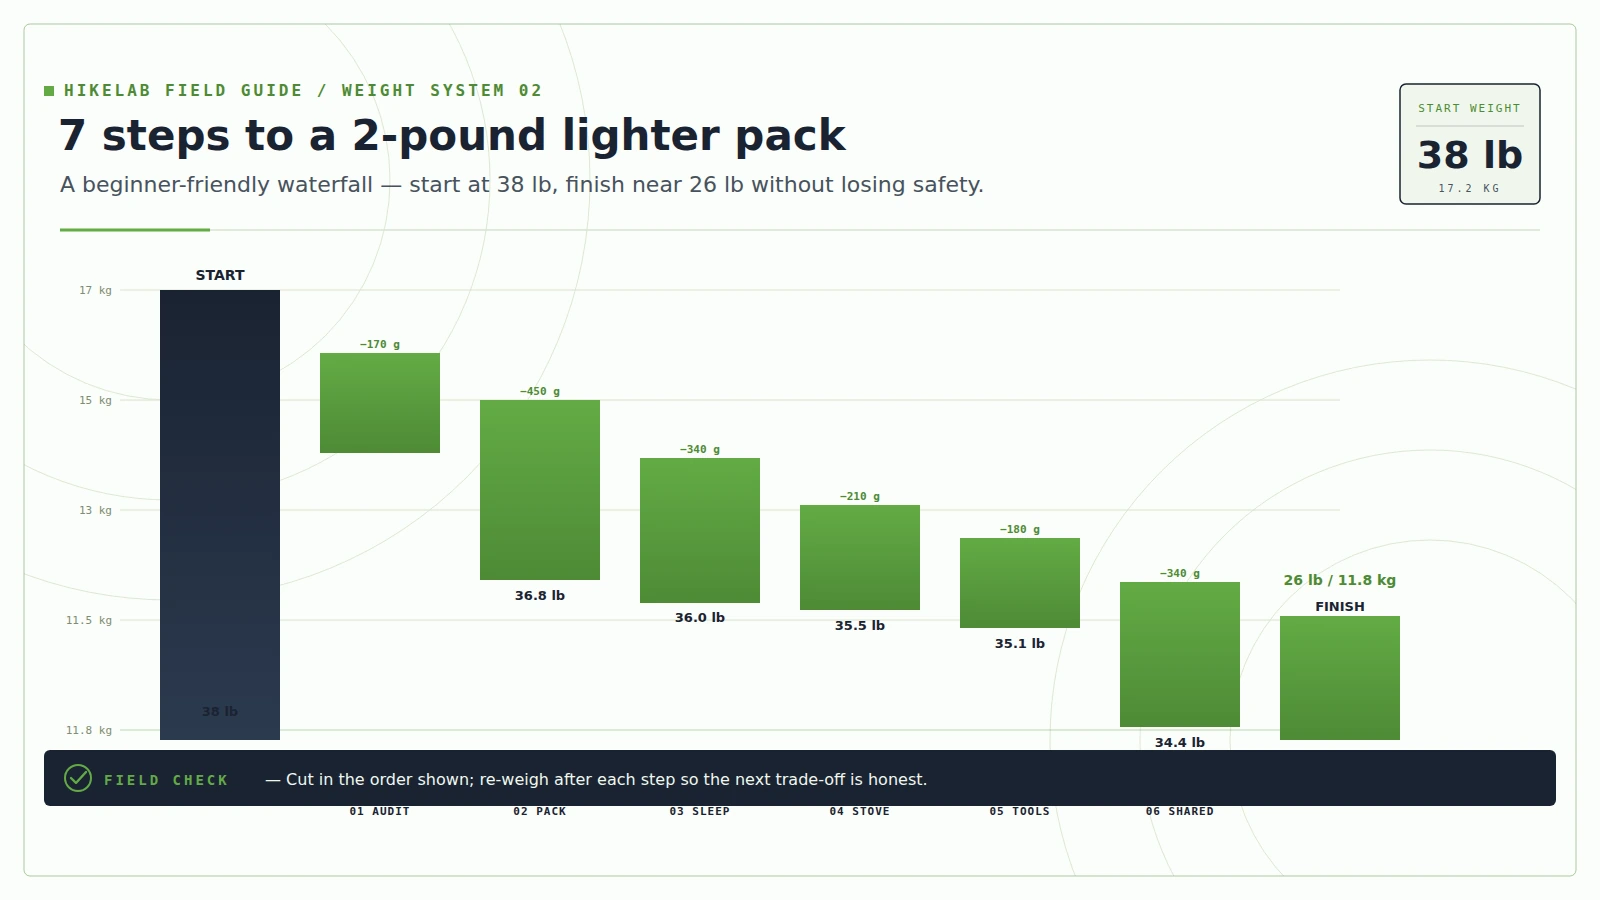
Key Takeaways
- Ultralight backpacking for beginners starts with weighing your current gear, not buying new gear.
- The fastest weight savings usually come from the Big Three: pack, shelter, and sleep system.
- A lighter pack should protect safety basics like shelter, warmth, water treatment, and first aid.
- Most beginners can drop 5 to 8 pounds through smart cuts, low-cost swaps, and better planning.
Why ultralight backpacking for beginners is so appealing
Most beginners are not chasing internet bragging rights. They want hiking to feel better. A lighter pack usually means less shoulder pain, easier climbs, faster setup, and more energy left at camp.
That matters more than people admit. When your pack is too heavy, every part of the trip gets harder. You move slower, sweat more, snack more, and often make worse decisions because you’re tired.
What is ultralight backpacking? It’s a style of backpacking focused on reducing base weight, which is the weight of your gear excluding food, water, and fuel. In most hiking communities, a base weight under 10 pounds counts as ultralight, but beginners should treat that as a reference point, not a rule.
Think of it as a filter, not a finish line. The goal is to carry only what you need for the trip you’re actually taking. If a warmer quilt, extra water carry, or a more protective shelter is the smart choice, that still fits the ultralight mindset.
Sam learned that on his first overnight in Virginia. He copied a minimalist gear list from a thru-hiker, left behind his warmer layers, and spent a windy 42-degree night barely sleeping. On his next trip, he carried one extra insulating layer, still cut 6 pounds from his old setup, and finished the weekend feeling stronger instead of wrecked.
If you’re new to this, stop aiming for “as light as possible.” Aim for “lighter and smarter” first.
Step 1: Learn base weight, worn weight, and why the 10-pound mark matters
Before you change anything, learn the numbers that matter. Your ultralight backpacking base weight is the total weight of your gear minus food, water, and fuel. That tells you how heavy your setup is before the trip starts.
Worn weight is what you hike in, like shoes, trekking poles, and clothing you keep on your body. Skin-out weight is the total of everything, including worn items and consumables. Those numbers can be useful, but base weight is the simplest place to start.
Why does the 10-pound benchmark get so much attention? Because it gives hikers a shared target. It also helps explain gear categories.
- Traditional backpacking: usually over 20 pounds base weight
- Lightweight backpacking: often around 10 to 20 pounds
- Ultralight backpacking: usually under 10 pounds
That said, the benchmark is not a law. Desert routes, shoulder-season trips, bear canister rules, and long water carries can all push your total weight up. For how to start ultralight backpacking, your first real goal is often more realistic: cut 10 to 20 percent from your current kit without reducing safety.
If your base weight is 19 pounds today, getting to 14 pounds is a huge win. That kind of drop changes how your whole trip feels.
For a solid primer on the basics, REI’s guide on ultralight systems is still a useful reference: https://www.rei.com/learn/expert-advice/ultralight-backpacking.html
Step 2: Audit your current gear before you buy anything
This is the least exciting step, which is exactly why it works. Put every item on the floor. Weigh each one with a kitchen scale or luggage scale. Write it down in a spreadsheet, a notes app, or a gear tracker like https://lighterpack.com.
Most beginners discover the same thing: the problem is not one titanium-free spoon. It’s layers of unexamined habits. Duplicates, full-size toiletries, extra clothes, backup gadgets, heavy packaging, and “just in case” items quietly add pounds.
Start with three questions for every item:
- Did I use this last trip?
- Does another item already do this job?
- Would leaving it behind create a real safety problem or just a comfort habit?
This is where beginner ultralight backpacking tips become practical. You stop guessing and start seeing weight clearly. A spreadsheet turns “my pack feels heavy” into “my camp shoes weigh 14 ounces and my extra shirt weighs 8.”
Jenna, a first-year backpacker in Oregon, did this before a two-night trip in the Cascades. She found two power banks, four stuff sacks, a paperback novel, a heavy camp mug, and a full hygiene kit she never fully used. She cut 5.4 pounds in one evening and spent zero dollars.
That kind of result is common. Many hikers can drop 5 to 8 pounds before they ever replace a major item.
Make your gear audit tonight while your last trip is still fresh. It’s one of the few backpacking tasks that gives immediate, measurable progress.
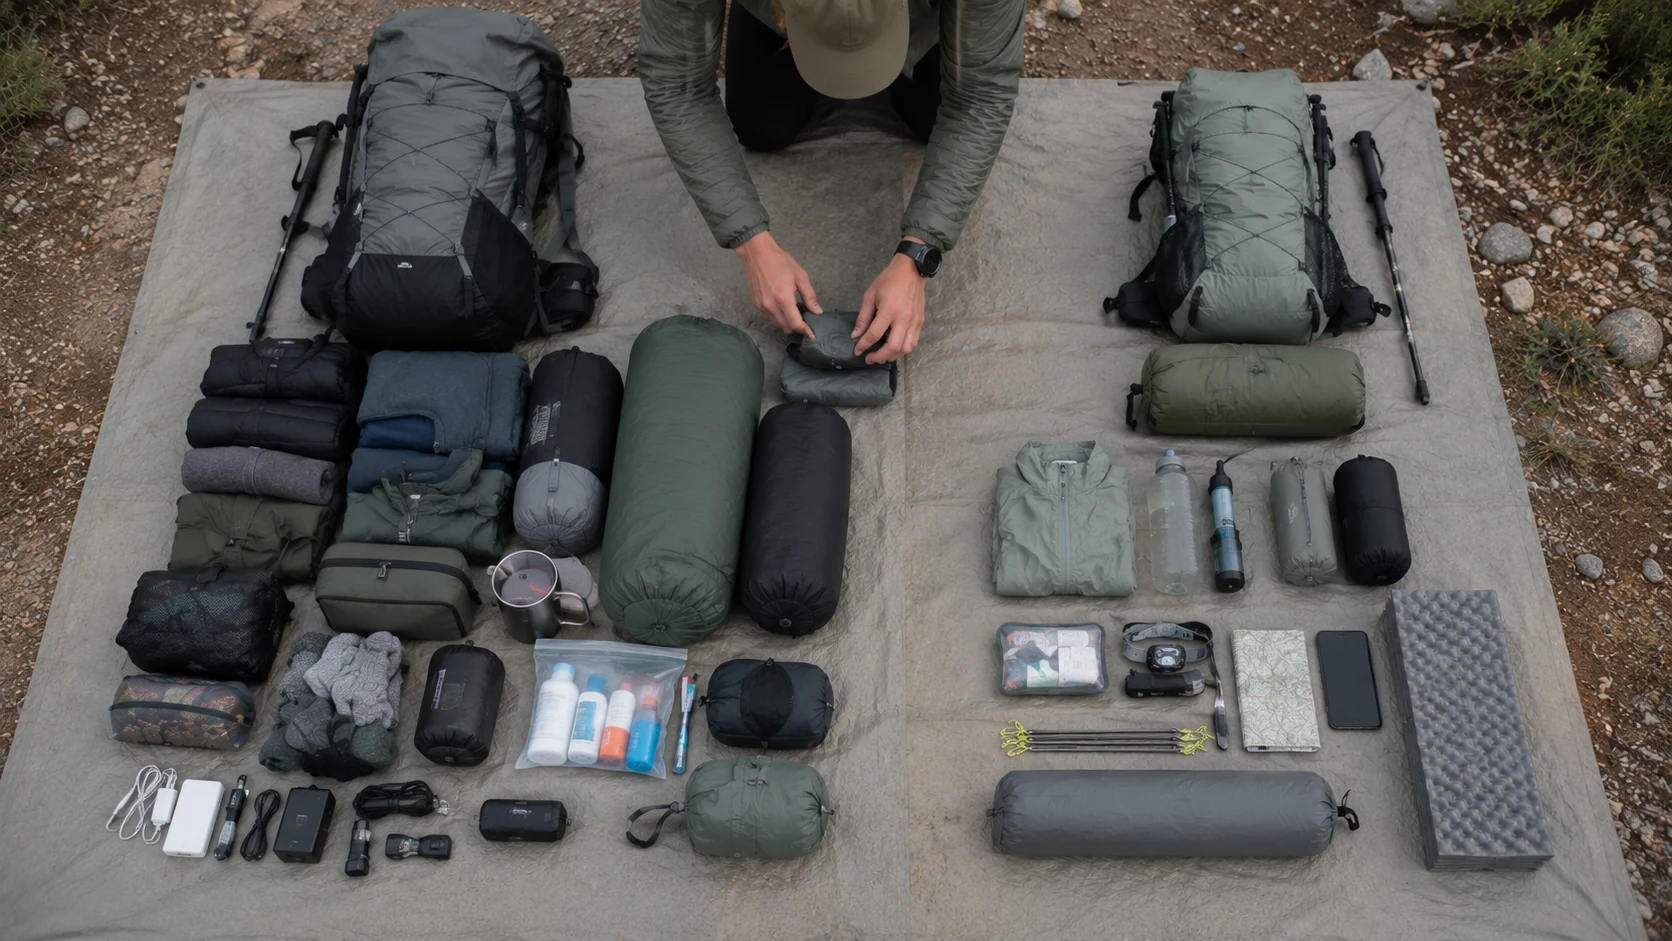
Step 3: Focus on the Big Three first for the biggest gains
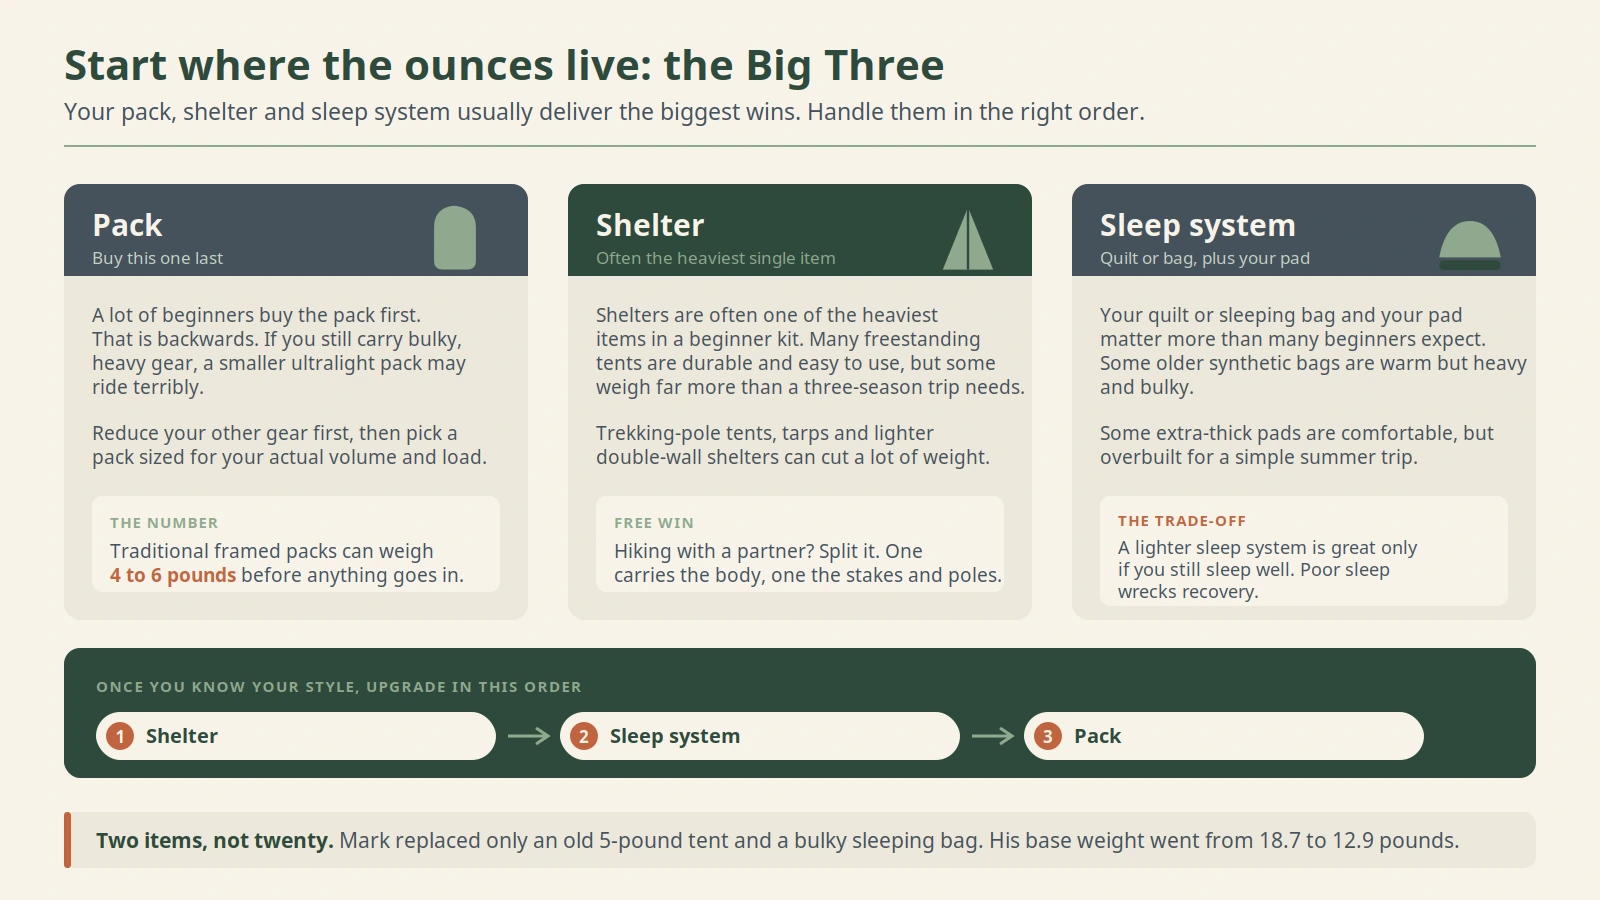
If you do decide to spend money, start where the ounces live. In ultralight backpacking gear for beginners, the biggest wins usually come from the Big Three: your pack, shelter, and sleep system.
Pack
A lot of beginners buy the pack first. That’s backwards. If you still carry bulky, heavy gear, a smaller ultralight pack may ride terribly. Reduce your other gear first, then pick a pack sized for your actual volume and load.
Traditional framed packs can weigh 4 to 6 pounds. Many lightweight and ultralight models land much lower, but only work well when the rest of your kit is trimmed.
Shelter
Shelters are often one of the heaviest items in a beginner kit. Many freestanding tents are durable and easy to use, but some weigh far more than needed for three-season trips. Trekking-pole tents, tarps, and lighter double-wall shelters can cut a lot of weight.
If you hike with a partner, share the load. One person can carry the tent body while the other carries stakes and poles or the fly.
Sleep system
Your quilt or sleeping bag and your sleeping pad matter more than many beginners expect. Some older synthetic bags are warm but heavy and bulky. Some extra-thick pads are comfortable, but overbuilt for a simple summer trip.
This is where trade-offs matter. A lighter sleep system is great, but only if you still sleep well. Poor sleep wrecks recovery and can make the next day miserable.
Mark, a weekend hiker in Colorado, upgraded only two items after his audit: an old 5-pound tent and a bulky sleeping bag. His base weight dropped from 18.7 pounds to 12.9. He didn’t hit a true ultralight number, but he shaved enough weight to enjoy longer climbs and stop dreading setup at camp.
Step 4: Build a lighter kit without cutting safety
This is where many articles get thin. They tell you to go lighter, then skip the part where beginners still need margin for mistakes, changing weather, and limited trail experience.
Safe ultralight systems protect the basics:
- Shelter that fits the forecast and terrain
- Sleep insulation warm enough for expected lows
- Reliable water treatment
- Navigation you know how to use
- Weather protection layers
- Headlamp, first aid, and basic repair items
The Ten Essentials still matter. The ultralight mindset asks whether each item is right-sized, multi-use, and trip-specific. It does not ask you to gamble on conditions.
This is especially important with water carry. On wet forest routes, you may only need to carry enough between frequent refill points. On dry trails, cutting water to save weight is a serious mistake. The same goes for insulation. If a cold front could move in, don’t build your whole kit around the warmest possible forecast.
Leave No Trace also belongs in this conversation. A lighter kit should not create bad habits like camping in fragile spots because you skipped proper shelter planning or carrying too little storage for food and trash. Their guidance is worth reviewing before any overnight trip: https://lnt.org/why/7-principles/
Step 5: Cut the “small stuff” that quietly makes packs heavy
Once the Big Three are under control, the small items become worth your attention. This is where many beginners make steady progress.
Start with clothing. Extra layers pile up fast, especially duplicates. Bring the clothing you need for movement, sleep, and weather protection. Leave behind the backup outfits that make sense in a hotel, not on trail.
Then look at kitchen and hygiene gear. Your pot can often double as your bowl. Your phone can replace a camera, notebook, book, and sometimes a standalone GPS unit if you also carry offline maps and a charging plan. Repackage toothpaste, sunscreen, soap, and first aid supplies into smaller amounts.
Storage is another hidden trap. Stuff sacks, hard cases, and organization pouches can add surprising weight. Many hikers do fine with a pack liner plus a few simple bags for critical items.
Food planning matters too. Calorie-dense meals reduce total carry weight. So does being honest about what you’ll really eat. Too many beginners pack fear snacks, duplicate breakfasts, and emergency extras for a two-night trip that already has easy bailout options.
This is also the stage where multi-use thinking pays off. Trekking poles may support your shelter. A buff may work as sun protection, sleep aid, and towel. A sit pad might double as back padding in some frameless setups.
For deeper reading on shaving unnecessary ounces, Gossamer Gear has a practical checklist here: https://www.gossamergear.com/blogs/our-blog/11-tips-reduce-backpacking-pack-weight
Do one post-trip shakeout after your next overnight. Spread everything on the floor and circle what never left the pack. That list is your easiest weight loss.
Step 6: Follow a realistic budget plan instead of panic-buying gear
One reason people hesitate to learn how to start ultralight backpacking is cost. That concern is real. Some premium gear is expensive, and buying everything at once is usually a mistake.
The smarter path is phased.
Phase 1: Free cuts
Audit your gear, remove duplicates, repackage consumables, and leave behind luxury items you don’t truly use. This is where many beginners save the first few pounds.
Phase 2: Low-cost swaps
Replace low-value heavy items first. Maybe that’s a bulky headlamp, a heavy metal mug, or extra storage bags. These are not glamorous changes, but they improve your kit without blowing your budget.
Phase 3: Borrow or rent
Before buying a quilt, trekking-pole shelter, or minimalist pack, test one. Borrow from a friend or rent from an outfitter if possible. Beginners learn faster when they try gear in real conditions instead of buying from specs alone.
Phase 4: Upgrade the heaviest winners
Once you know your style, spend money where it removes the most weight and improves comfort the most. For many hikers, that means shelter first, then sleep system, then pack.
This phased approach helps you avoid one of the biggest beginner mistakes: buying an ultralight pack before your load is ready for it. If your total setup is still bulky or heavy, that pack may feel worse, not better.
If you’re comparing options, Backpacking Light offers extensive education on the trade-offs of lightweight systems, though much of their content is more advanced:
Step 7: Plan your first ultralight trip to learn, not to prove anything
Your first ultralight trip should be boring in the best way. Pick an easy route, moderate weather, reliable water, and a short mileage target. The goal is to test your system, not to impress anyone.
A strong beginner plan looks like this:
- Choose a one- or two-night route with clear campsites and simple navigation.
- Check the forecast several times in the days before departure.
- Test your shelter setup and sleep system at home or in a local park first.
- Pack the lighter version of your kit, but keep real safety basics.
- Take notes during and after the trip on what you used, what you missed, and what felt unnecessary.
This is where ultralight backpacking for beginners becomes personal. The best setup depends on your climate, sleep style, experience, and hiking goals.
Priya figured that out after a cautious overnight near Mount Hood. She chose a short route, pre-marked water sources, and tested her tarp in a backyard storm the week before. Her first trip was not dramatic, and that was the point. She came home with a base weight just under 13 pounds, slept well, and knew exactly which two items she wanted to change next.
That is a successful first ultralight trip. Not a heroic sufferfest. Not a spreadsheet trophy. Just a system that works better than the one you had before.
Pick one overnight route for the next month and treat it like a field test. One honest trip report on your own gear beats ten more hours of shopping tabs.
Common ultralight backpacking for beginners mistakes to avoid
Even with a good plan, a few mistakes show up again and again in ultralight backpacking for beginners.
The first is chasing a number too fast. Sub-10 sounds exciting, but fast cuts often target the wrong things. If you strip away warmth, sleep comfort, or weather protection before you build skills, the trip gets harder for the wrong reason.
The second is copying someone else’s kit without copying their experience, climate, and tolerance. A thru-hiker in a dry season may carry less than a beginner in a wet shoulder-season forecast, and that can be the correct choice for both people.
The third is assuming every item must be ultralight to count. It doesn’t. A beginner-friendly system might still include a familiar stove, a roomier shelter, or a slightly heavier pad because better sleep and confidence matter.
The fourth is never reviewing the results. Every trip should teach you something. Keep the notes simple: what did I use, what stayed packed, what felt worth the weight, and what problem do I want to solve next?
FAQ
How do I start ultralight backpacking as a beginner?
Start by weighing your current gear and calculating your base weight. Cut duplicates and unused items first, then upgrade the heaviest gear categories in order. Most beginners should focus on getting lighter safely, not hitting a strict ultralight number right away.
What is a good ultralight backpacking base weight for beginners?
A good starting target is often 12 to 15 pounds, depending on your route and conditions. The classic ultralight benchmark is under 10 pounds, but many beginners will hike more comfortably by reducing weight in stages.
Which ultralight backpacking gear should beginners upgrade first?
Usually the Big Three: shelter, sleep system, and pack. Those items often offer the biggest weight savings, but the pack should usually be upgraded after the rest of your gear is lighter and less bulky.
Why is ultralight backpacking harder for some beginners than expected?
It often feels hard when people cut too much, buy the wrong gear for their conditions, or copy advanced hikers without understanding the trade-offs. Ultralight works best when it’s built around your actual trips, skill level, and weather.
When should I not try to go lighter on a backpacking trip?
Do not chase lower weight when cold weather, long water carries, high winds, remote terrain, or limited experience call for more margin. If extra insulation, water capacity, or emergency gear makes the trip safer, that weight is justified.
Conclusion
The best thing about ultralight backpacking is not the number on a spreadsheet. It’s how different hiking feels when your load finally matches your trip. You climb easier, recover faster, and spend more time enjoying camp instead of managing gear you never needed.
For most people, ultralight backpacking for beginners is a gradual shift, not a dramatic makeover. Learn the core weight terms, audit what you already own, focus on the Big Three, protect your safety margin, and upgrade in phases. That path is more affordable, more realistic, and far more likely to stick.
Your next step is simple: weigh your kit and plan one short test trip. Start there, learn from what happens, and let each trip sharpen the system. A lighter pack is not reserved for experts. It starts with one careful decision at a time.
Next Steps
- Ultimate Base Weight Guide 2026
- Cut 2Lbs Backpack Tips 2026
- Budget Ultralight Gear Upgrades 2026
- First Kg To Cut 2026
Leave a Comment